Amazon Cognito is a powerful service provided by AWS that allows you to manage user identities and authentication for your applications easily. In this short guide, I will walk you through the steps to create a Cognito User Pool, a fundamental component for handling user sign-ups, sign-ins, and identity management. Let’s get started!
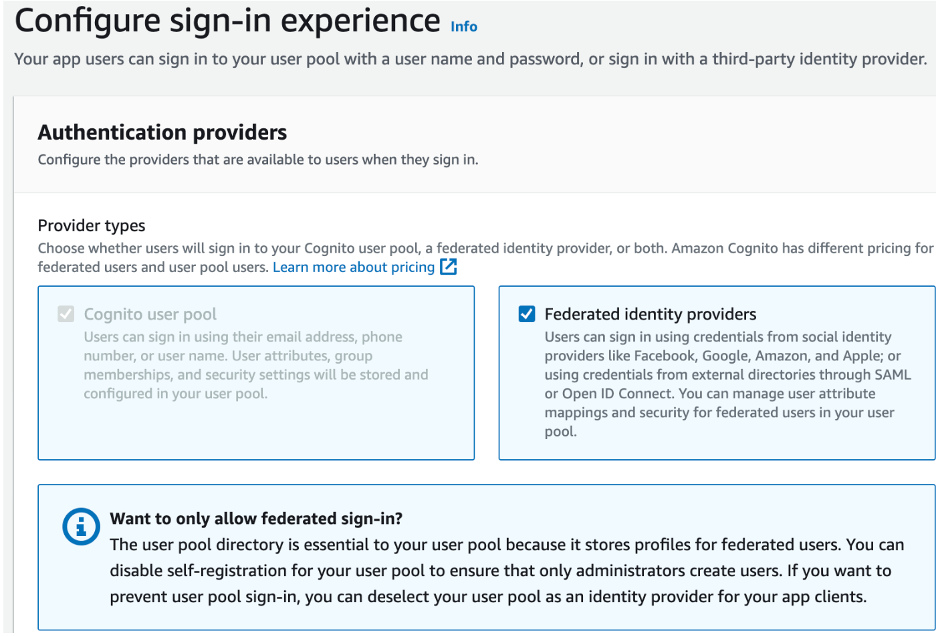
Step One: Configure Sign-in Experience
- Go to the Amazon Cognito Console.
- Select User Pools and click on Create user pool.
- Under the Configure sign-in experience, check Federated Identity providers
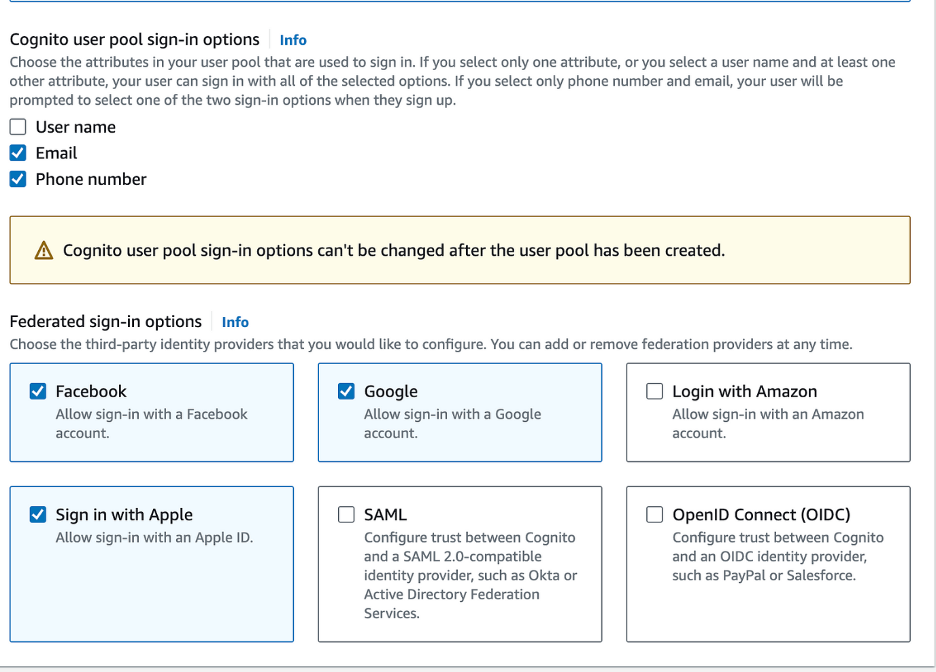
- Check Email and Phone Number for Cognito User Pool Sign-in Options
- Under the Federated sign-in options, check the desired providers (e.g., Facebook, Google, Sign in with Apple). You can configure these options later.
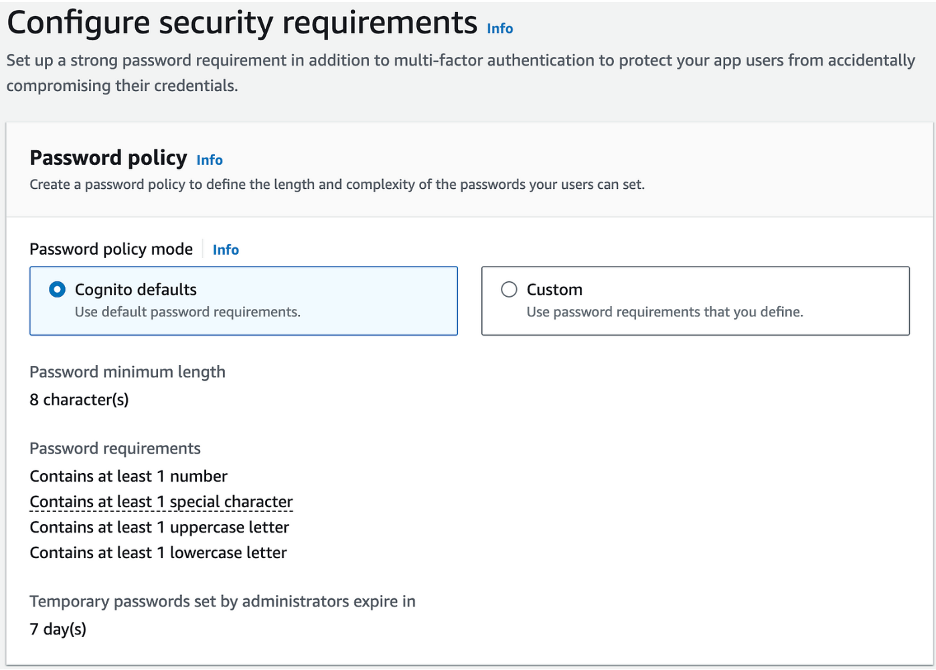
Step Two: Configure Security Requirements
- Leave Cognito Defaults for Password Policy
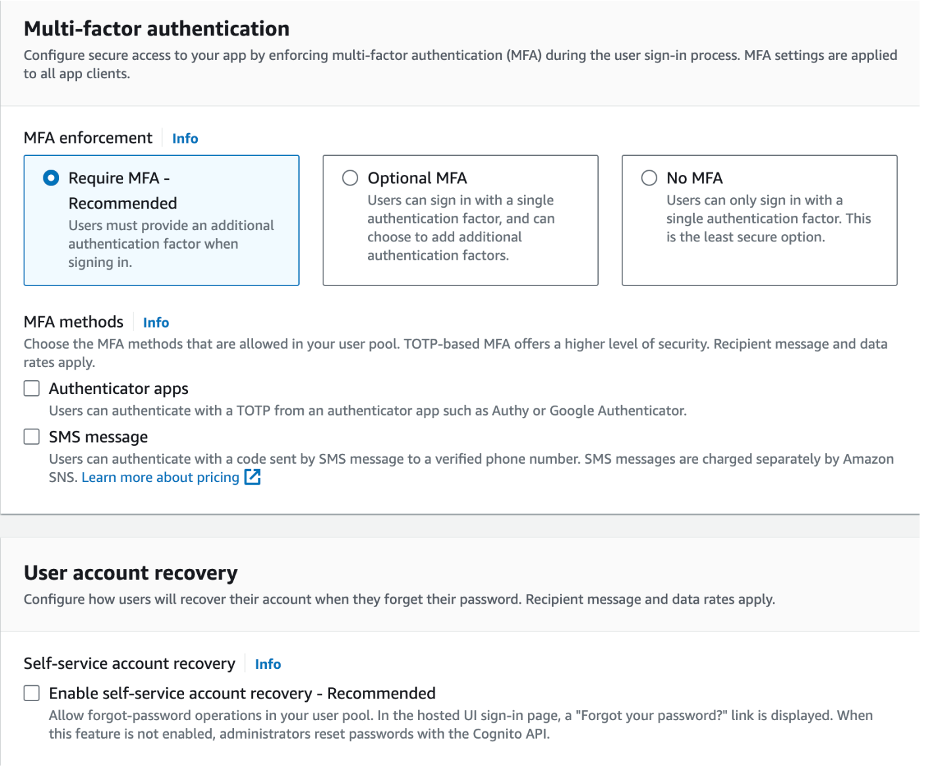
- Configure Multi-Factor Authentication (MFA) as per your security requirements.
- Disable Self-Service Account Recovery
Step Three: Configure Sign-Up Experience
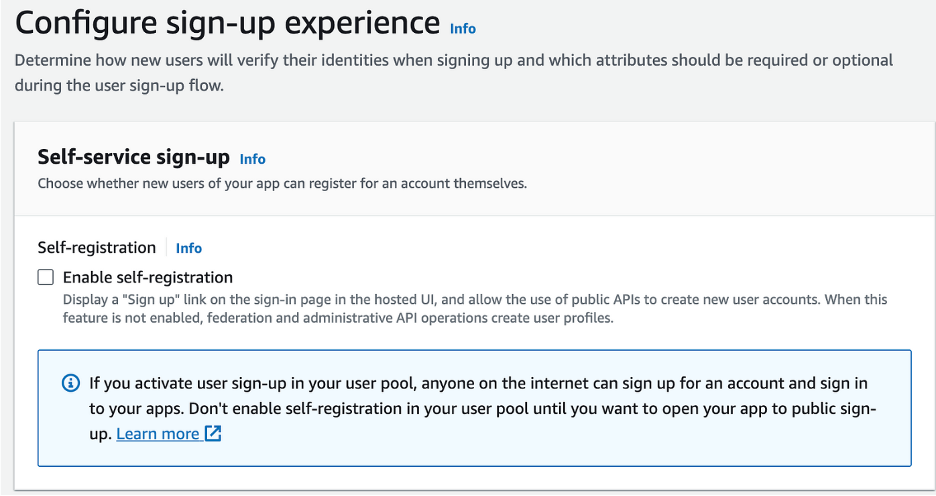
- Disable Self-Registration
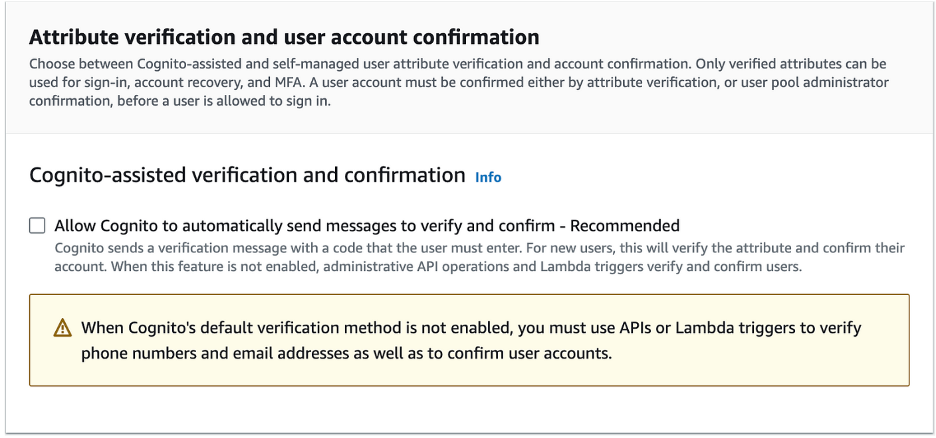
- Uncheck Allow Cognito to Automatically Send Messages
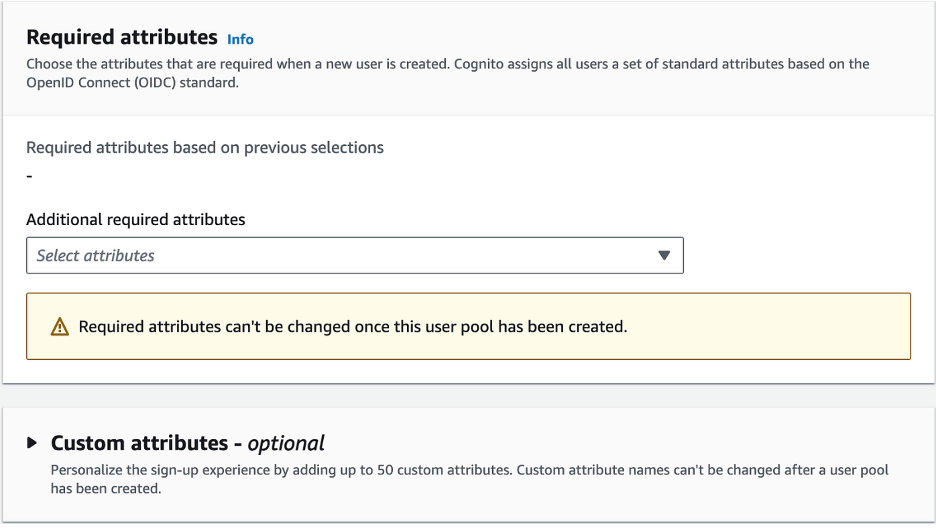
- Leave Required Attributes and Custom Attributes as Default
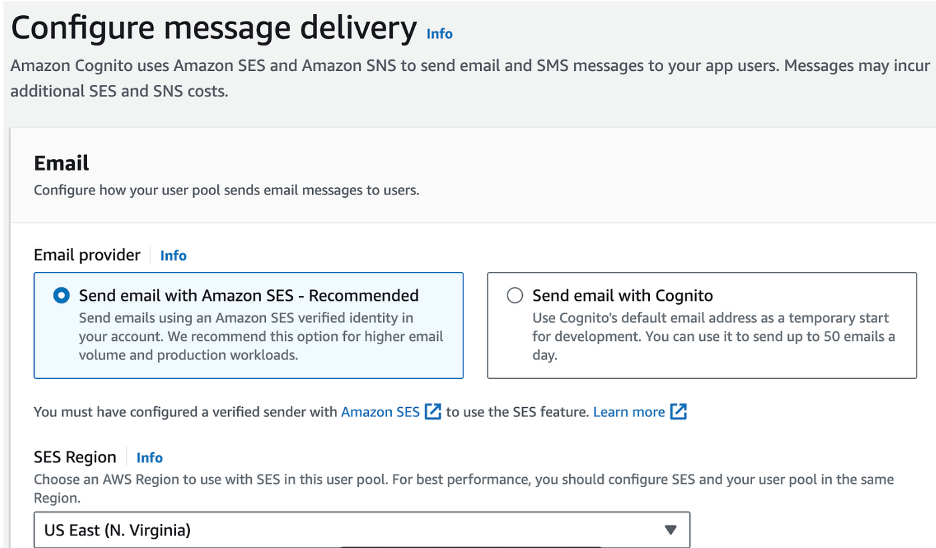
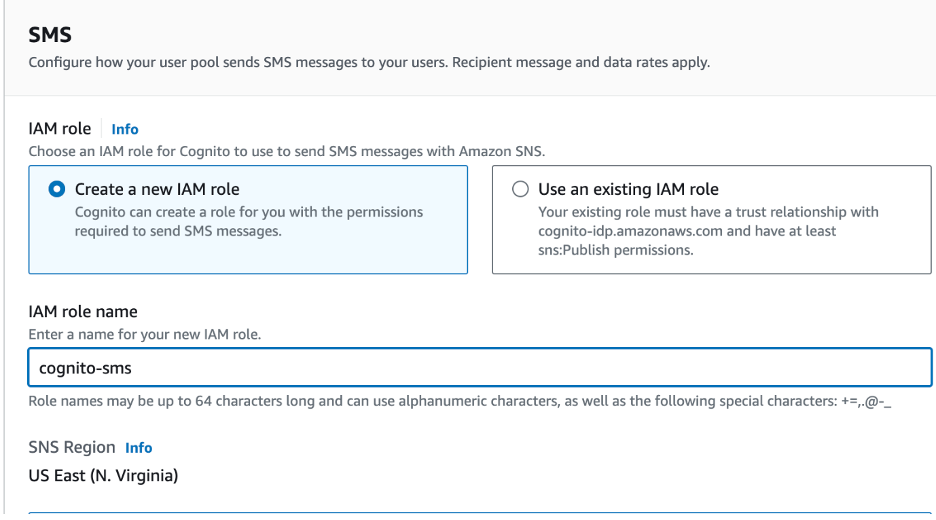
Step Four: Configure Message Delivery
- Leave Email Provider as Send Email with Amazon SES
- Choose Your Region
- Choose an email address that you have verified with Amazon SES
- Configure SMS IAM Role. (Create a new role or choose an existing role)
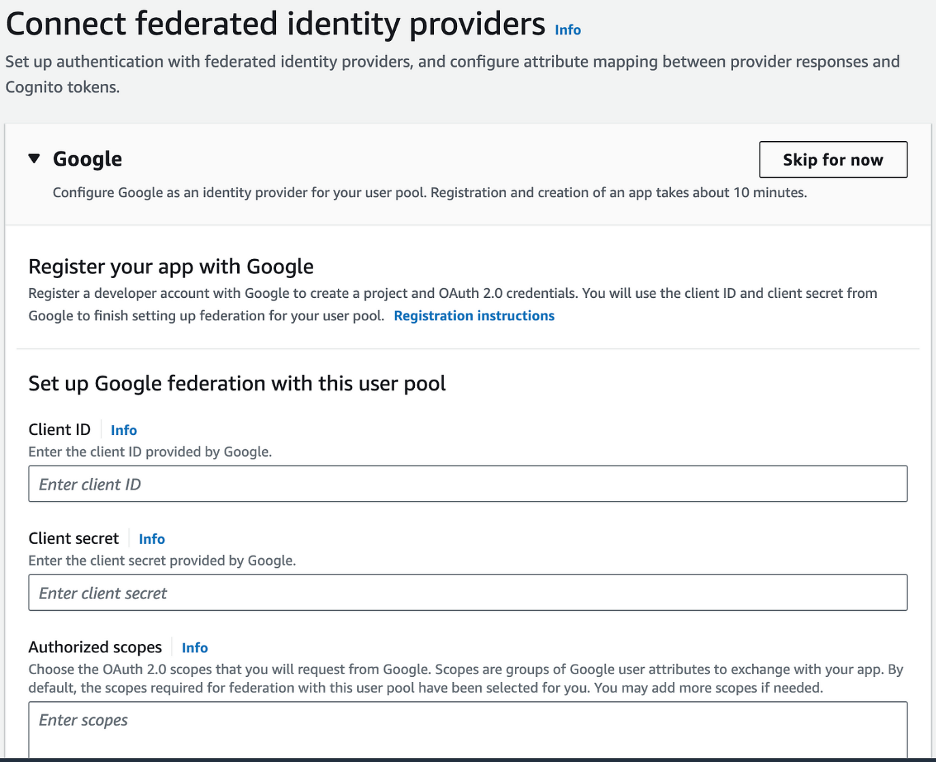
Step Five: Connect Federated Identity Providers
- When prompted to register your app with Google, Facebook, and Apple, you can skip this step for now.
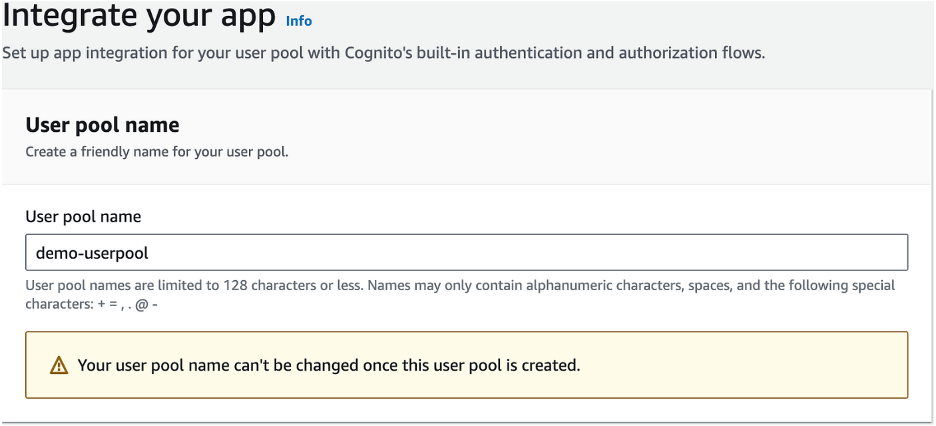
Step Six: Integrate Your App
- Enter the User Pool name
- Select Use a Cognito domain, and provide a unique Cognito Domain name.
- For the initial app client, choose Public client, set the App client name, and choose to generate a client secret if needed.
- Specify allowed callback URLs .